Thursday, March 15, 2012

I altered this mini box as a gift for my boyfriend and he loved it.  I don't think these pictures give the box justice.  They could be much cleare.  I apologize. 
 It was fabulous fun making this box.  I will be making several different altered boxes in the next few weeks as gifts and cannot wait to get started on them.  They can be used as jewelry boxes, candy boxes or just about whatever you desire.
 I used the following products: Tim holtz Tattered Time paper stash and ideo-ology (key, sprocket gears, corners, acrylic fragments and film strip).  I used TH mini crown mask on the top of the box; a bronze metal star and wrote I LOVE YOU (I handwrote "I Love You" on the star), I then added glossy accents over it.  Lastly, I placed a picture between two TH fragment tiles and put on top of box.   
 When I gave him the box I looooved the expression on his face.  He is always so grateful of my handmade gifts.
Thank you so much for stopping by and please feel free to leave a comments.

To be Crafty is to be Happy...

Wednesday, February 29, 2012

I made an altered composition book for my niece.  She is starting new job and facing new adventures, so I thought making her a journal would be good for her to write down her thoughts and memories. 
Her new job is at a Beauty salon in NYC and she loooves glamour and fashion.  So, I wanted the book to have a nice old hollywood vintage look.  I used the following supplies: DCVW Ladies Couture on the front and back covers; Prima flowers; some vintage buttons, pearls strands and ribbons I have in my stash and lastly I used Tim Holtz stamp on the edges of the covers and pages and his movers and shakers Troquel die.


Thank you so much for stopping by.  Please feel free to leave a comment and/or any questions.

Wednesday, February 15, 2012

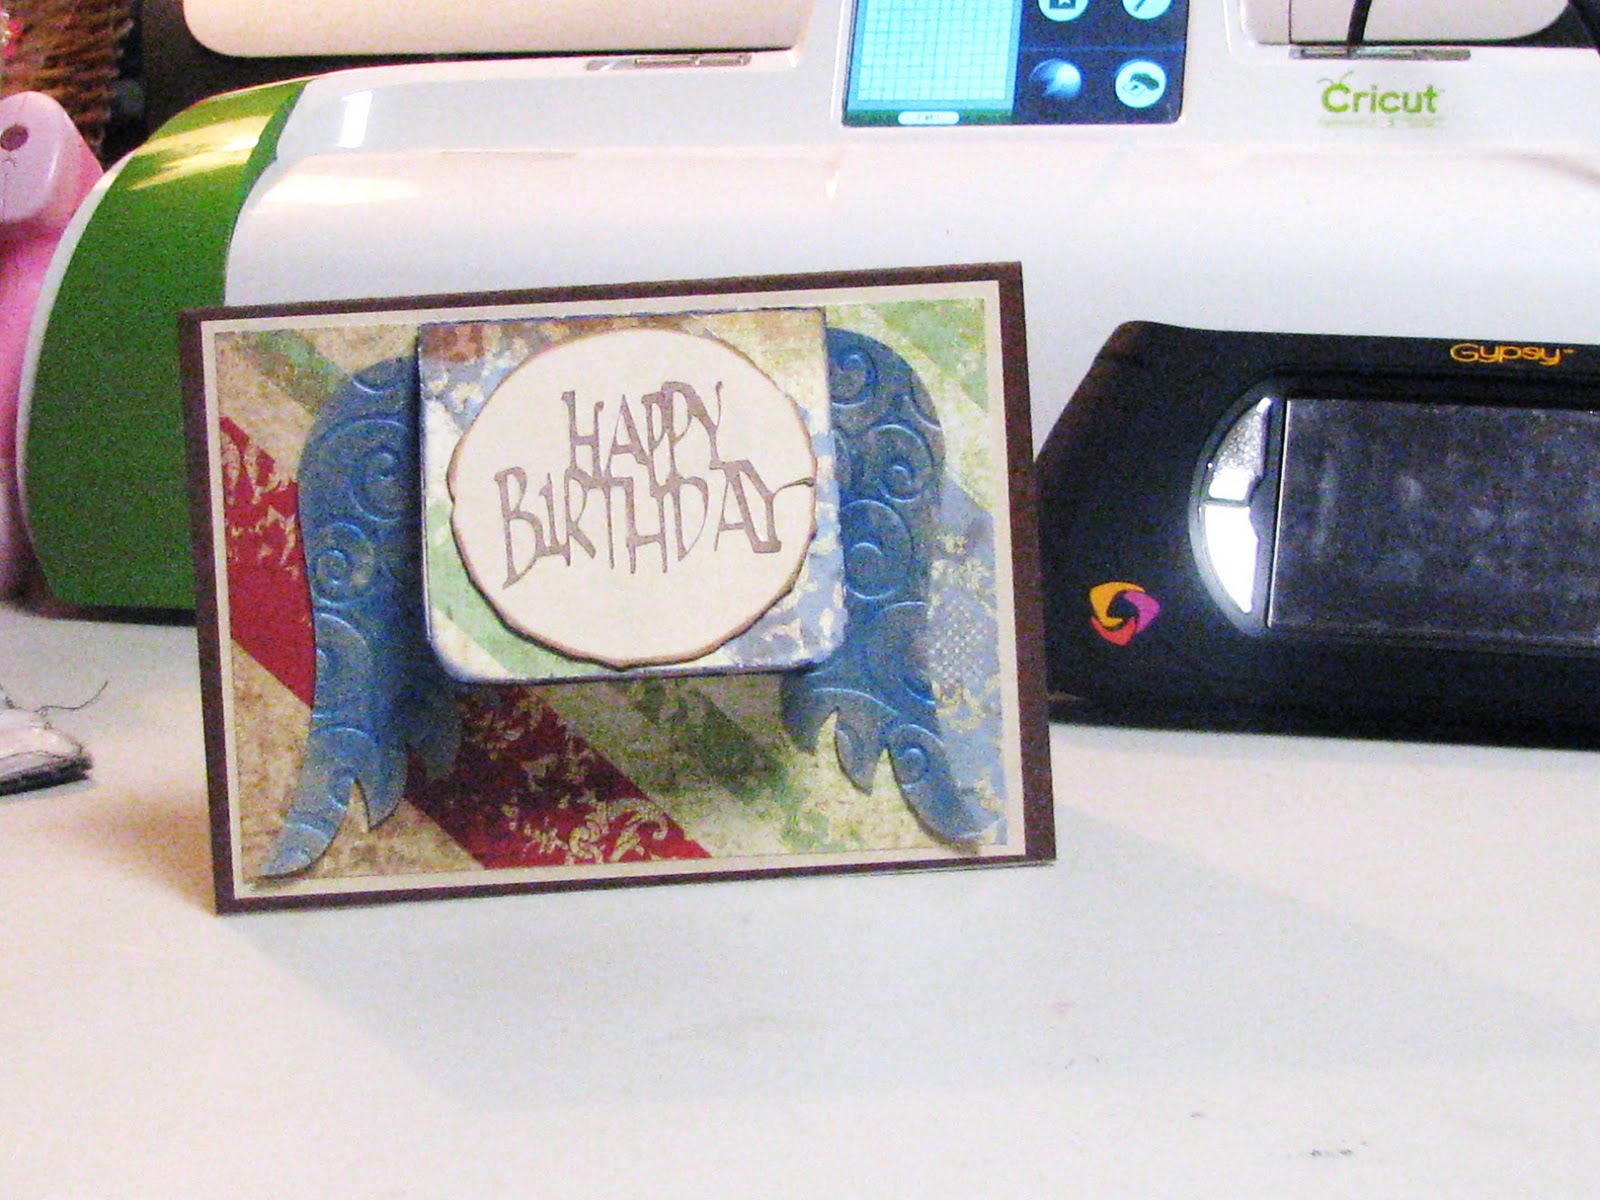
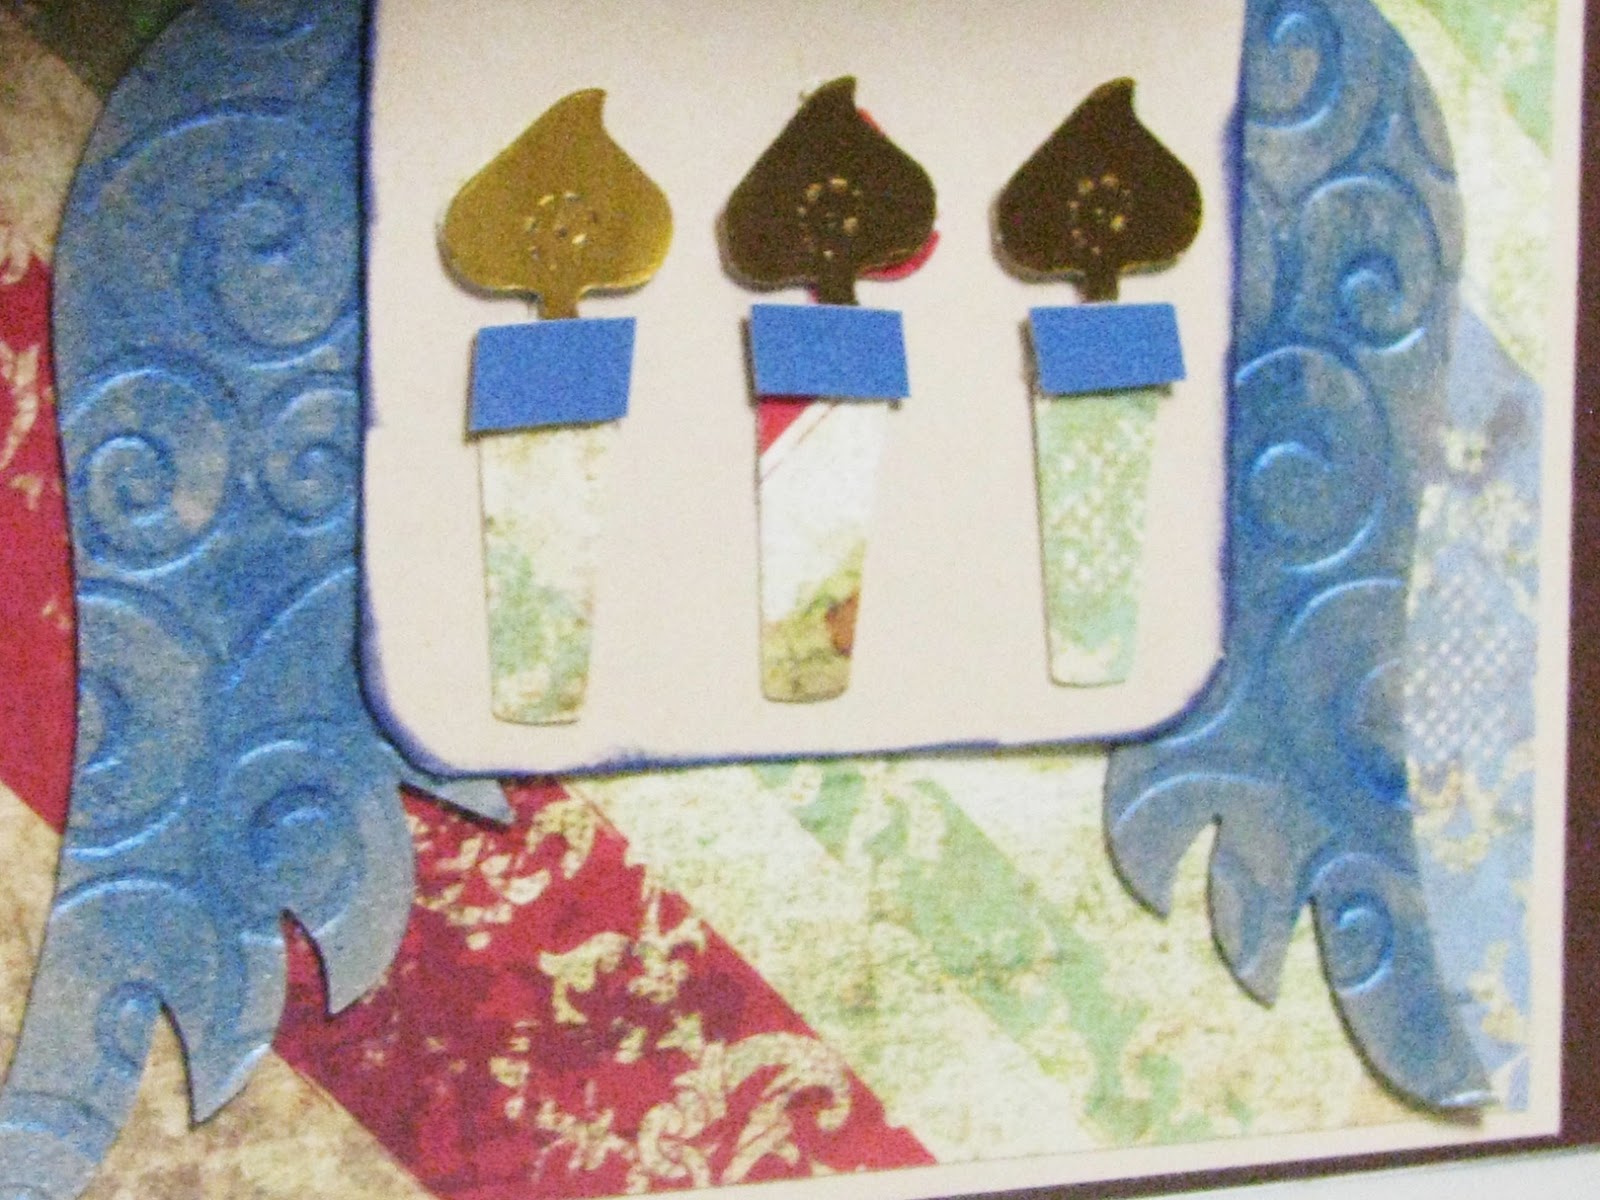
My post is a little late, but really wanted to share my projects, as I had so much fun.  I was asked by my nephew's teacher to create some projects to make with her class.  Needless to say, I was so overjoyed and I could not wait to get started.  As you can see from the picture below, my nephew (Nicholas) is holding one of the projects we did with the class and the other was decorating a gift bag.  

The children had so much fun.   Before I left the class I took a picture of each child and the teacher then helped them to cut and paste them in the center of the heart.
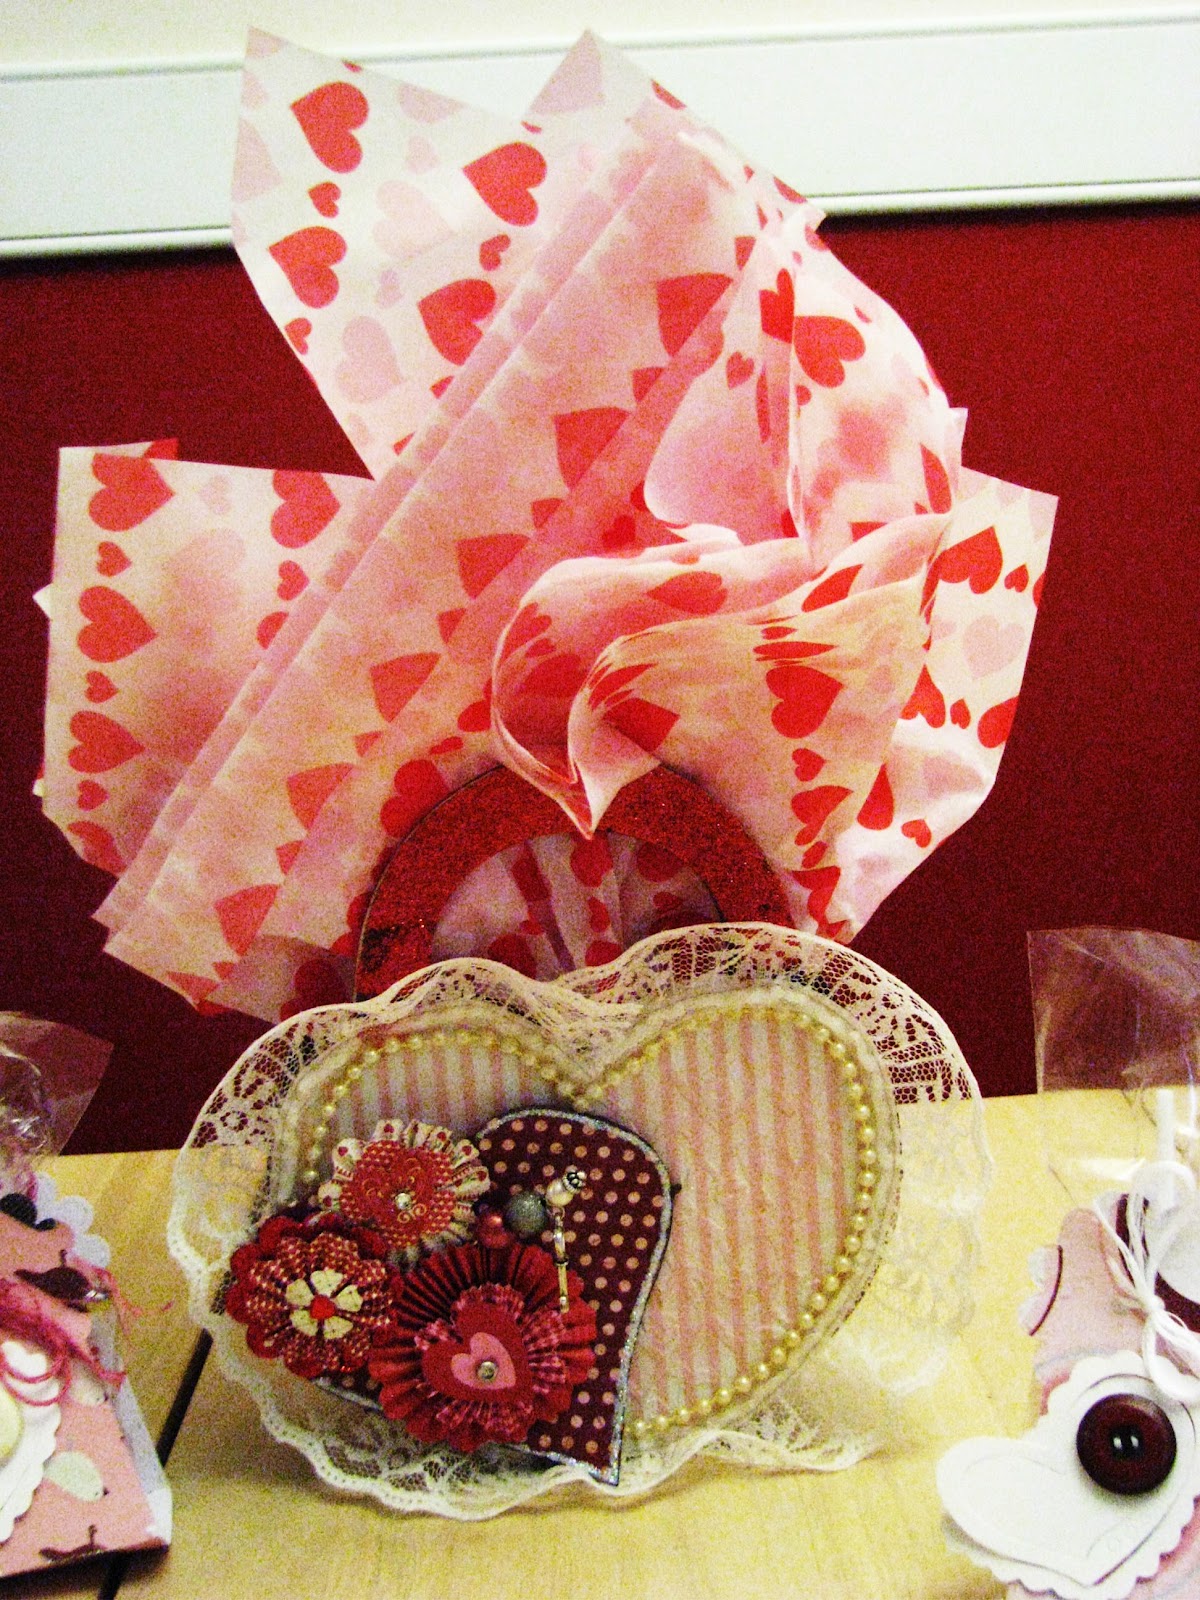
To make the three hearts I used: (1)  Love Struck, Gypsy Wanderings; Indie Art carts and Mother's Day Bouquest for Flower Center frame; and (2) Peachykeen Everyday Faces.
For the gift bags, I prepped baggies with all the supplies for each child. First, I adhered a strip of pink ribbon from my stash to each bag and used the following supplies: (1) one pack Jolee's dimensional sticker flowers; (2) pipe cleaners (red, white and pink) I cut down to size (4 in each bag); (3) die cut coffee cup (5.22 x 3.24) from the Gypsy Wanderings cart; (4) paper - My Mind's Eye Lovenest paper pack; and last I put pop dots on the back edges of the cups to make easier for the children to adhere to bags and tuck in pipe cleaners.
 Also, I made a treat for the children and the teacher.  To make treats for the children I used: (1) MCT Stitched Lollipop Holder die; (2) Sizzlet heart die for the outside; and (3) buttons from my stash.  I cannot believe how easy and fun it was to make these.  I look forward to making much more using MCT Stitched Lollipop Holder die.
 For the teacher's gift I bought a plain heart shaped wooden box and used the following supplies:  I first painted the box with walnut stain paint, then sanded the edges.  I used My Mind's Eye Lovenest paper pack.   I then embossed the paper using a hearts design folder and then covered the front and back of the box.  I trimmed the front of the box with lace trim and pearl strands from my stash.  Then, I die cut a heart using Lovestruck cart (used my Gypsy and made card using this design); I then decorated the heart using dimensional Valentine's Day stickers and made a decorated pin, which I placed in center of stickers.  Lastly, I glittered the handles with Martha Stewart glitter (Carnelian) and stickles (Star Dust) on the edge of the heart and put pop dots.  Before I glued down to box I asked my nephew to write a nice note to his teacher.

Two more pictures below of the treats for the kids.  I know my bows are not soo good, but I did not have twine and used floss.  Hope to make them much neater next time, as I am ordering twine, which make much nicer bows..lol.  
I want send a thanks to Emma of MCT, as her and her DT have been a great inspiration.  I promise to practice and put better pictures also.  I finally, got my tripod and should be doing videos very soon.  Thank you so much for stopping by.  To be crafty is to be happy...

Monday, December 26, 2011

Last week my nephew asked me how Santa was going to come into our house if we do not have a chimney.  I was so excited because I'd followed Emma's (MCT) blog hop (12 Days of Christmas)  and I remembered the Magic Key project made by Vicki of VK Create.   I then made the project using her poem.  H was sooo happy, as was I also because he truly believed Santa would be able to  come in and leave gifts because he was a good boy, and knew he was on Santa's good list.
The products I used for this project are: Red and White cardstock; grungeboard key by Tim Holtz; Martha Stewart red glitter on the key; red stickles around the trimming of the tag; red ribbon and grommet by We R Memory Keepers and chipboard pieces by Brenda Walton.  I used a black felt tip marker to write the poem.  This project was so much fun and easy to make and now Nicholas (my nephew) knows to leave the Magic Key for Santa.  I want to thank Emma of MCT and Vicki of VK Create for all the great ideas and their inspiration.  

Thank you so much for stopping by.  Please leave a comment.  

Tuesday, December 13, 2011

I apologize my pictures are not very clear.  Well, yesterday was the last day of the 12 Day Christmas Hop by Emma of MCT and her DT.  It was SOOOO MUCH FUN and I am so happy I participated.  I got so many wonderful ideas during this hop.  The tree below being one of them.  I am making this as a gift for my nephew's school teacher.  


I took a styrofoam tree shape and simply added mini chocolate Hershey's, soft peppermints, mini candy  cane ornaments, white fun fur yarn, and pointsettas.  I pinned everything down with pearlhead straight pins.   


At the top of the tree I used a chipboard Angel, attached a popicle stick on the back and added white feathers.   I really enjoyed making this and hope to get many more projects done by Christmas.  Thank you so much for stopping by.  Please feel free to leave a comment.
Yesterday was the last day of the 12 Day Christmas Hop by Emma of MyCretimeTime and her and her DT was wonderful in sharing soo many of their awesome ideas.  I apologize I cannot remember which one of her members did a 


Sunday, December 4, 2011

My nephew had a birthday party to go to for a friend and he asked me to make him a card.  His friend turned 14 y.o. 

 Materials I used to make this card: Me&My Big Ideas Specialty cardstock; Tim Holtz Angel Wings Die; Perfect Pearls (Blue) on the wings; and Glimmer Mist (Dazzling Diamonds) also on the wings; I used the Beyond Birthdays cart for Happy Birthday and I also used a Sizzix die for the candle inside the flip on the outside of the card; and lastly I used gold metallic cardstock on the candle for the flame.


 I hope his friend loved the card as much as I enjoyed making it for him.